
The Everest Base Camp Trek Map is an essential tool for anyone planning the trek. It shows the route, distance, and altitude for each part of the journey. The trek usually takes 12 to 14 days and covers approximately 130 kilometers (80 miles) round-trip. Starting from Lukla, you will pass through Phakding, Namche Bazaar, Tengboche, Dingboche, and Lobuche before reaching Gorak Shep and, finally, Everest Base Camp. It is essential to acclimatize properly along the way to avoid altitude sickness.
The map provides you with all the key stops, the next village you will pass, and the distance you need to cover. This will help you plan your daily hikes efficiently. The map will also help you mark important places like tea houses, medical clinics, and monasteries. This ensures that you know where to stop for food, rest, or emergencies. You can get these maps from trekking agencies in Nepal, guidebooks, or even online before your trip. Having the map with you can help you stay on track, avoid getting lost, and make the trek more enjoyable.
Everest Base Camp Trek Route
The Everest Base Camp Trek takes you through beautiful landscapes, traditional Sherpa villages, and high mountain passes. Your journey will begin with a flight to Lukla. From Lukla, you will walk through forests, rivers, and suspension bridges to reach Phakding. The trail then leads you to Namche Bazaar, a lively town where you will spend a day adjusting to the altitude. As you continue, you will pass through Tengboche before reaching Dingboche and Lobuche, where the air gets thinner.
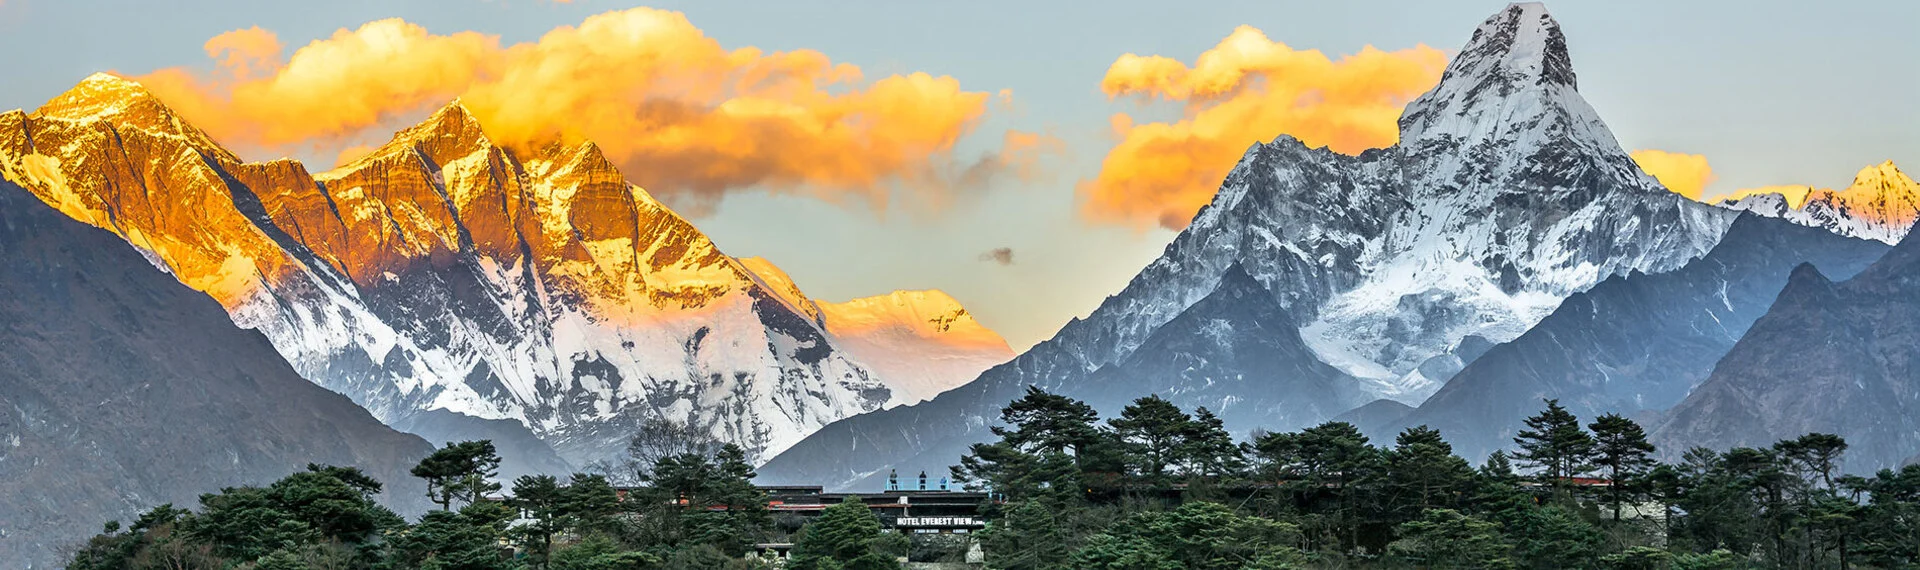
The final part of your trek will take you to Gorak Shep, the last stop before Everest Base Camp. From here, you will walk over rocky terrain to reach the base camp, where you can see the mighty Everest up close. After celebrating your achievement, you will return to Gorak Shep and hike to Kala Patthar the next morning. This is the best place to see the sunrise over Everest. The golden light on the snow-covered peaks is a view you will never forget.
After enjoying the views, you will start your journey back down. You will follow the same route and stay in the same villages. The return journey will feel easier as you descend to lower altitudes. Once you reach Lukla, you will take a flight back to Kathmandu, carrying unforgettable memories of the Everest Base Camp trek. Besides the classic route, you can also choose other options. The map of the Everest Base Camp Trek includes all the roads that lead to views of Everest.
- Everest Three Passes Trek With EBC
- Gokyo Lakes Trek to EBC
However, both treks can be quite challenging, with an increase in the number of days, more steep ascends, and more high-altitude passes.
Acclimatization Day During the Trek
Acclimatization days are crucial for avoiding altitude sickness, which can be dangerous if not managed properly. The first acclimatization day is in Namche Bazaar (3,440m), a bustling Sherpa town that serves as a major rest stop. You can take short hikes to the Everest View Hotel (3,880m) or the Khumjung village, both offering breathtaking views of Everest, Ama Dablam, and other peaks. Namche also has excellent facilities, including bakeries, shops, and museums, where you can rest and learn more about Sherpa culture.
The second acclimatization stop is in Dingboche (4,360m), a small village surrounded by towering peaks. The most recommended hike here is to Nagarjun Hill (5,100m), which offers panoramic views of Makalu, Lhotse, and Island Peak. This hike is more challenging than the one in Namche, as the air gets thinner and the climb is steeper. However, spending time at a higher altitude before returning to sleep in Dingboche helps improve oxygen efficiency in the body.
Elevation during Everest Base Camp Trek
The elevation along the Everest Base Camp trek gradually increases, making acclimatization essential. Starting from Lukla at 2,850m, the trek moves through different altitude zones, each presenting unique challenges. Higher elevations mean thinner air, lower oxygen levels, and increased chances of altitude sickness, so proper pacing is necessary.
As you ascend through Namche Bazaar, Tengboche, Dingboche, and Lobuche, the altitude gain becomes more noticeable. The final stretch from Gorak Shep (5,185m) to Everest Base Camp (5,364m) is the most demanding, requiring extra effort due to the high altitude and rugged terrain. Many trekkers also climb Kala Patthar (5,545m), the highest point of the trek, for unparalleled views of Everest and the surrounding peaks.
Descending back to lower elevations is much easier, allowing the body to recover from the effects of high altitude. You may feel relief as they return through the familiar villages on their way back to Lukla. Proper hydration, gradual ascent, and acclimatization days significantly enhance the trekking experience and safety.
| Location | Elevation (meters) |
| Lukla | 2,850m |
| Phakding | 2,650m |
| Namche Bazaar | 3,440m |
| Tengboche | 3,855m |
| Dingboche | 4,360m |
| Lobuche | 4,930m |
| Gorak Shep | 5,185m |
| Everest Base Camp | 5,364m |
| Kala Patthar | 5,545m |
FAQs of Everest Base Camp Trek Map
What is the highest point on the Everest Base Camp trek map?
The highest point is Kala Patthar at 5,545 meters (18,192 feet). It offers the best panoramic view of Mount Everest. Everest Base Camp itself is slightly lower at 5,364 meters (17,598 feet).
How long is the Everest Base Camp trek route?
The round-trip trek covers about 130 kilometers (80 miles). You will walk around 6 to 8 hours each day, depending on the section of the trail. The distance is divided into manageable trekking days to help with altitude adjustment.
How accurate are online Everest Base Camp trek maps?
Online maps are generally accurate, but trails may change due to landslides or new paths. It is best to check updated maps from reliable sources. Local guides and teahouses also provide the latest route information.
Is the Everest Base Camp trek map easy to follow?
Yes, the trail is well-marked and follows a clear path used by trekkers and locals. Signboards and trekking guides help you stay on the right route. It is always recommended to carry a detailed trekking map or use a GPS device.